

Here's part two of my previous post...The box for the treat broom.
Materials.
4 Sheets of A4 card
Acetate 3 3/4 x 11 inches
1/4 inch wide double sided tape, 1/2 wide double sided tape and some 12 x 12 Halloween themed paper.
Optional. cat punch
Approximately 15 inches of orange ribbon.
Take 2 sheets of A4 card and cut 1/4 of an inch off the long side of both pieces, it should measures 11 3/4 by 8inches when cut.
Score length ways down both pieces at 4 inches 7inches and 7 1/2 inches.

Take one sheet of the card and on the 4 inch panels, cut a window aperture.
Cutting the window. Draw a large rectangle on one of the 4 inch wide panels.
At the top and bottom measure and mark 1/2 inch in from the edge, a draw a faint line between the two marks. Do the same on the other side... from the 4 inch score line.
At the top edge measure down 1 1/4 inches on each side and mark. Join the marks with a light pencil line. see photo below.

From the bottom edge measured up and mark 1 inch at both sides and draw a line to join up the bottom line with the two side lines. You should now have drawn a large rectangle which you can now cut out.

With the window cut out. It's time to add the acetate.

Using the 1/4 inch wide double sided tape, frame the aperture.
Peel back about an inch of the backing tape, but don't take it off completely.
Don't use wet glue, you don't want any glue near the acetate. If it gets on the acetate it's not easy to remove.

Position the acetate over the aperture, making sure it covers all the strips of tape completely and keeping it flat. Anchor the corners on those exposed sections of tape. Hold the acetate firmly in place and slowly pull each piece of backing paper away and press the acetate down as you remove the backing paper.
Once all four strips of backing paper have been removed and the acetate is secure, adhere a strip of 1/2 inch wide double sided tape either side of the window, running from top to bottom. Peel back 1 inch of the backing tape on each side as you did for attaching the acetate.

Make sure they don't overlap the window edge. You really don't want them to show through the window.

These strips will neaten the inside edges and reinforce the sides of the window.
Don't worry about the top and bottom.


Cut a piece of suitable Halloween themed paper 11 X 3 3/4 inches and glue it to the inside back panel of the box. A word of Warning , Don't choose a paper that is dark or the broom blend into the background and will not be instantly visible.


Now for the top, This is a little more involved as it is really two tops although the finishing off top is optional.

Draw two diagonal lines across the card to find the centre. Die cut a hole big enough for the broom handle to fit in snuggly. Repeat on the second piece of card.


I used grosgrain on mine which is a bit more difficult to stick, so I resorted to sticking it down with duct tape. Then I glued the whole piece of card on top of the card with the flaps, lining up the holes in the centre and sandwiching the ribbon ends between both pieces of card.


Cut two pieces 11 1/4 inches by 2 3/4 inches for the sides and glue in place.


I think I have covered everything, If I have neglected to say something or haven't explained something too well, drop me a line and I' ll get back to you. But for now it's goodnight from me.


Apply glue to the long 1/2 inch glue tab and join the window sheet to the second sheet of card so you now have all four sides of the box in one piece.

Once stuck firmly, repeat on the other 1/2 inch glue strip to complete the box shape.


For the base.
Cut a piece of card 5 x 6 inches and score at 1 inch on all sides.
The cut out the corners cutting off the score lines . This will help the base fit better.

Fold and burnish the score lines. Push the base into the bottom of the box.
It should be a tight fit. If it's a little too tight try tugging the flaps over a little more and burnish at the same time.
You could also try trimming a miniscule amount off those corners. That may be all it needs.
Push the base into the bottom of the box.

Make sure the flaps line up with the bottom edges of the box and the floor is pretty much in line with the bottom of the window, flip each flap down a little towards the middle of the box, and apply a little glue to the flaps in turn and push it back in place. Making sure the bottom of each flap lines up with each edge. If they don't, you could find you have a wobbly bottom.

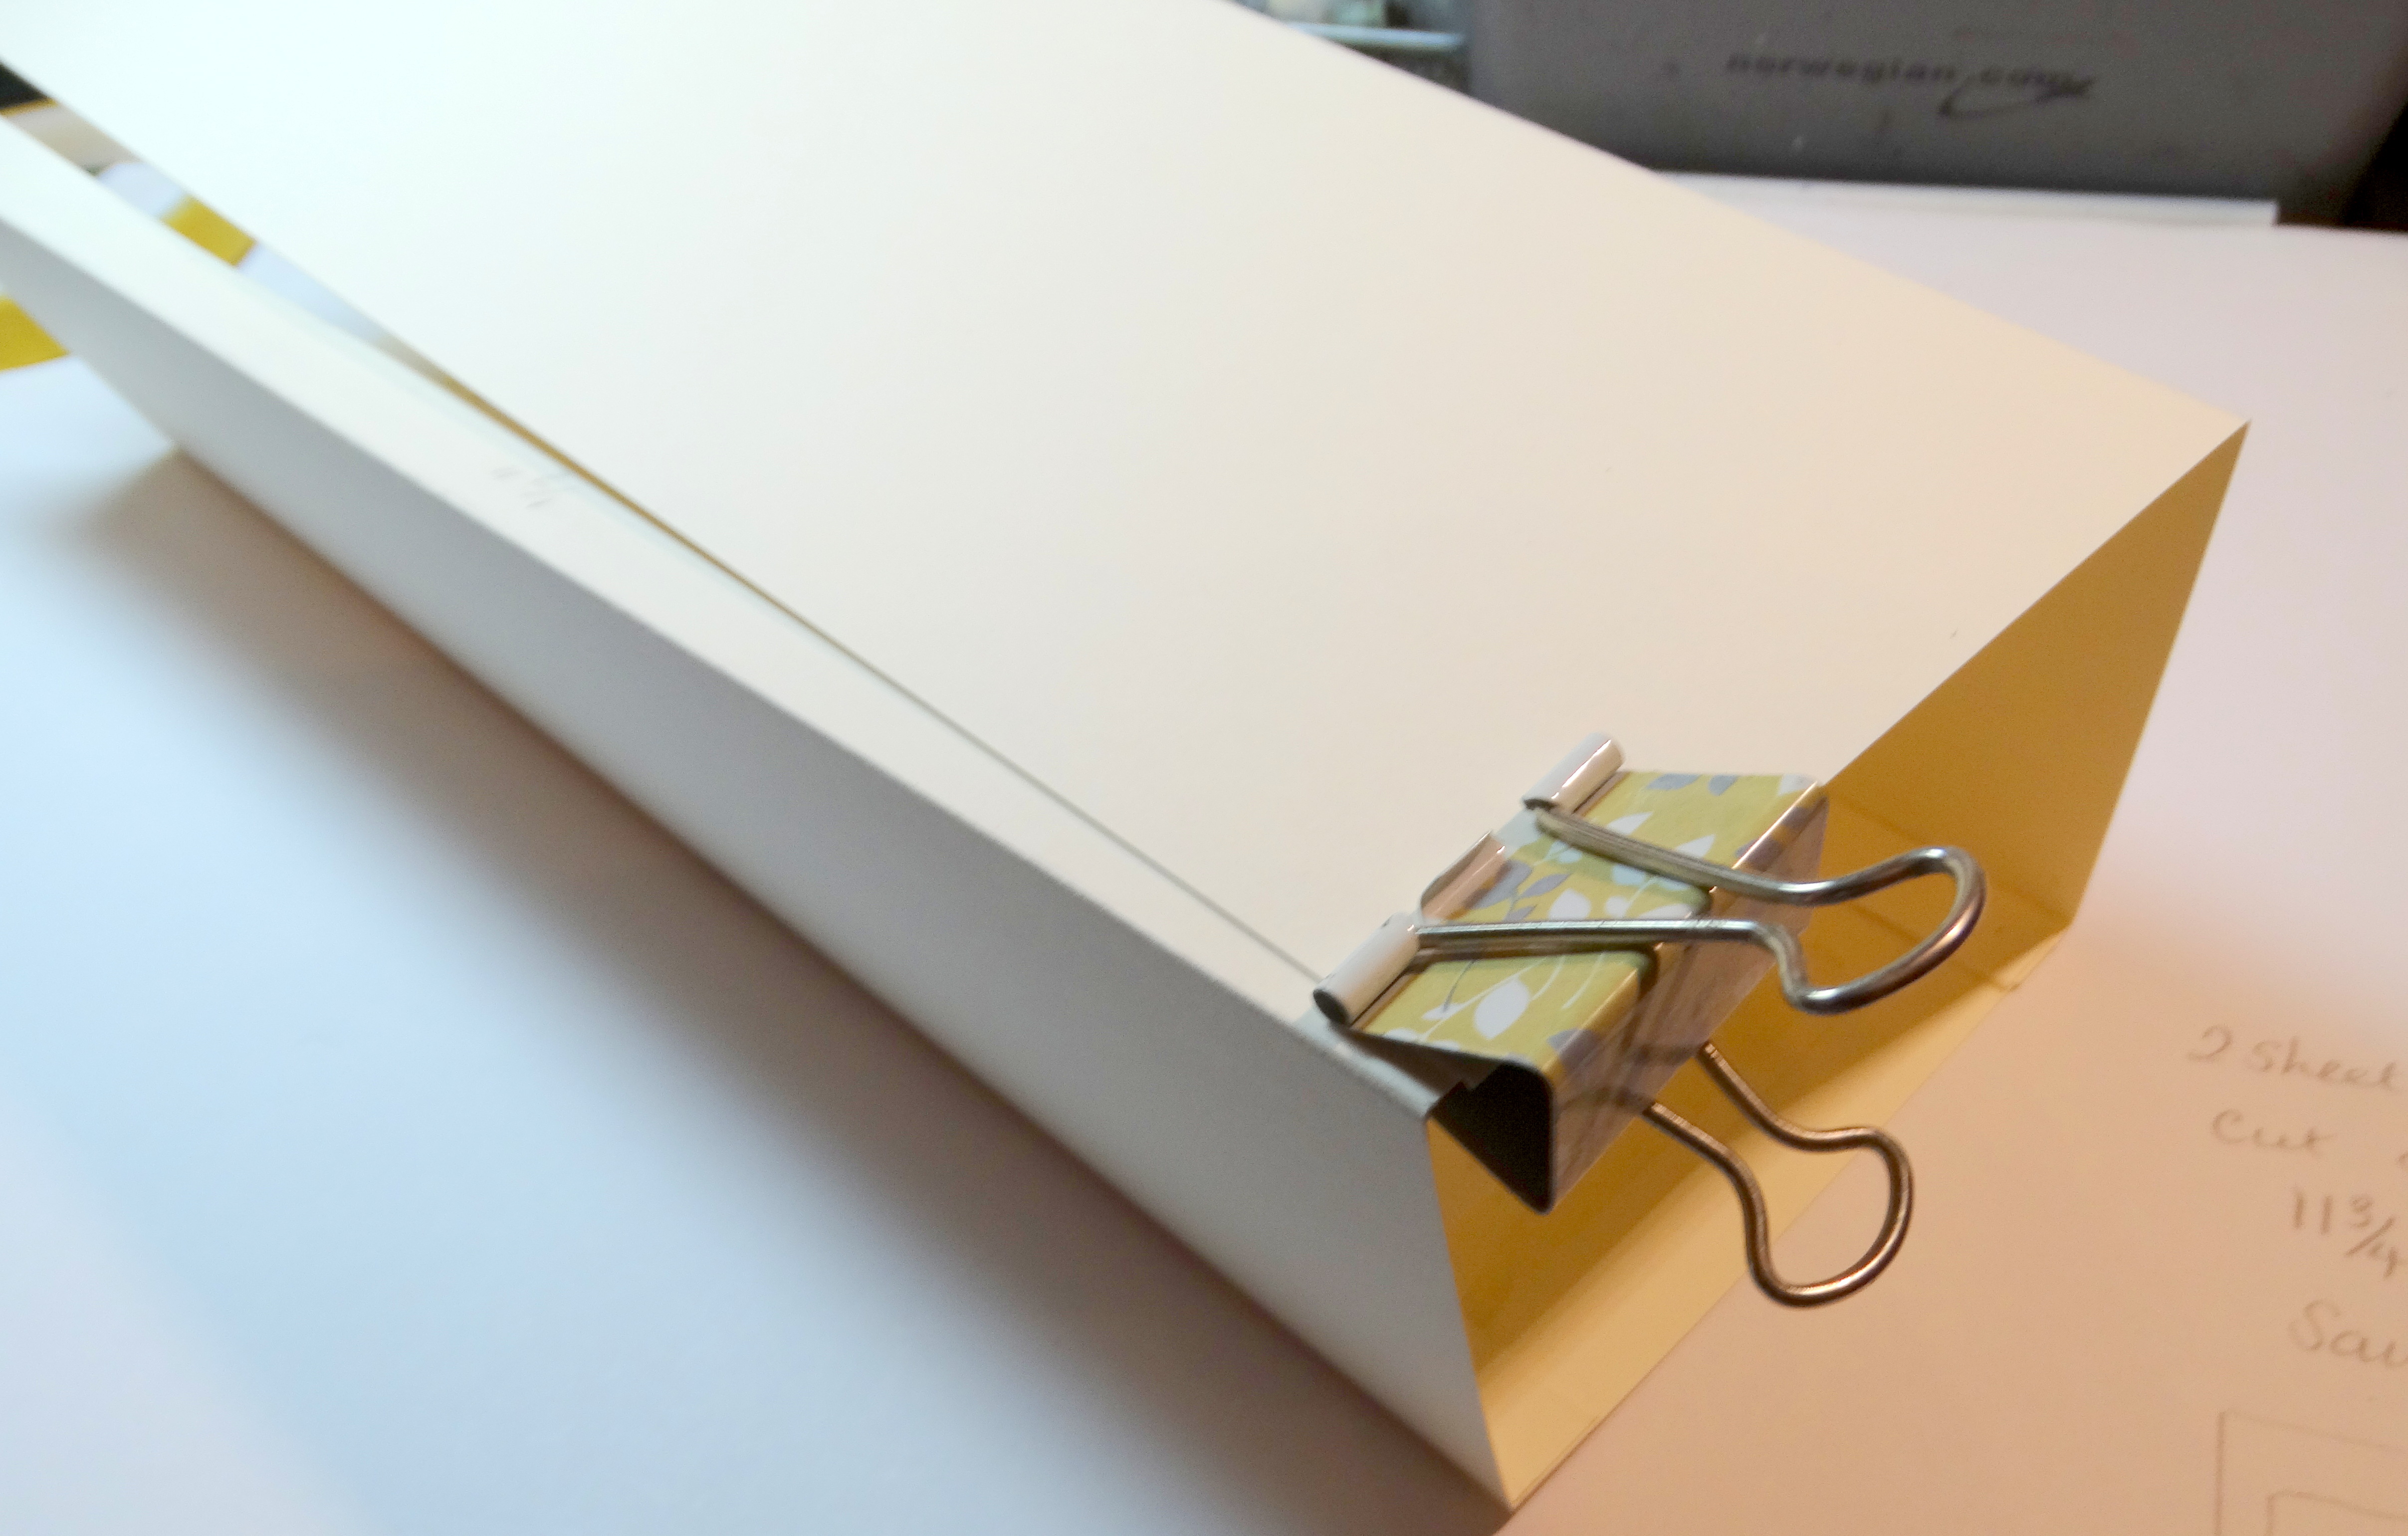
Use clips to hold the flaps while they dry.

In the Photo below you can see how the base forms the platform for the broom to stand on.

Cut two pieces of card-5 inches by 4 inches and score at 1 inch on all four sides just as you did for the base.
It's basically exactly the same but with a small hole in the top to hold the broom handle and a ribbon handle to make removing it easier. You won't glue this piece in though.

Draw two diagonal lines across the card to find the centre. Die cut a hole big enough for the broom handle to fit in snuggly. Repeat on the second piece of card.

Take the piece of card without the flaps, and cut two slots. One each side of the hole, approximately
1 1/2 inches away from the hole.
Cut a piece of ribbon about 8 inches long and thread the ends through each slot and secure with glue.


Now the following steps are optional.
I cut four piece of DSP 2 of which measured 2 x 3 inches and the other two measured 2 x 4 inches.
I scored them all on the short side at 1 inch and folded them in half.

I applied glue to the inside of each piece and adhered them over the flaps.

The first lid is now complete. Fit the lid into the top of the box just you did with the base. This will help keep the box rigid as you decorate the rest of the box.
To decorate the box, cut two strips of DSP 11 1/4 inches x 3/8ths of an inch for the sides of the window.
Cut 1 piece 7/8ths of an inch by 4 inches for the bottom of the window.
For the top cut 1 piece 1 inch by 4 inches.

Check everything lines up and that you have an even border before sticking in place.
Just in case you have to trim a little bit off as I did.

I lined up the edge of the DSP with the edge of the window as I stuck the down.

Cut one piece of Halloween themed dsp 11 1/4 inches by 4 1/2 inches for the back.

The next bit is optional. It's a cover for the top. I made this cover to prevent anyone using the ribbon as a carrying handle. As the first lid is really to secure the
broom, so there is a danger of the box falling off if it's carried by the ribbon. So I chose to make the cover lid to reduce the temptation of carrying it by the ribbon.
Cut a piece of DSP 3 7/8ths of an inch by 2 7/8ths of an inch.
And cut a second piece of card 3 7/8 ths of an inch by 7/8 ths of an inch and score at 1/2 an inch all the way round fold and burnish all score lines.

Snip into the corners or cut them off completely.
Make a single slot in the middle of the DSP, feed both ends of a piece of ribbon approximately 4 inches long through the slot to form a loop and secure with glue.
Then glue this to the top of the piece of card.
You don't want this cover to be a tight fit or the top will tear when the loop is pulled.

Make a tag and attach it to the ribbon below the cover.
Fold the sides down on the cover and drop it in the top. There is enough room in the top to place a few flattish sweets or lollipops before dropping in the cover. Giving the recipient two surprises in one. 


